Guide: How To Run a Decal Fundraiser

PTAs, PTOs, and volunteers across the country power their fundraising campaigns with FutureFund. 100% of all funds raised go directly to your school!
See how FutureFund works or book a demo to see how it can work for you.
A decal fundraiser is a great opportunity to let your students express themselves and let your local families express support for your school! Its also a fairly simple event to run and any leftover decals can still be sold after the event is over! Use these steps as a guide to put on your own decal fundraiser! If selling isn’t for you check out our list on fundraisers without selling.
Step One: Select a Person to Lead the Fundraiser/Form a Decal Fundraiser Committee
For this event, having a committee of multiple voices to chime in about what’s best for the community/school might work out to the PTO/PTA’s benefit. The committee will be able to make the best choice for the school event while considering the pros and cons from all angles.

Step Two: Consider the Decal Design and the Source.
There are two ways the committee can pick the decal design to sell for the fundraiser:
Option 1
Pick a reliable and recognizable school symbol to be printed for the decal.
Option 2
Allow your older students to design a new decal with school approved colors and symbolism and turn it into a contest where the winner gets to have their work produced in decal form.
Option two might be a fun way for your graduating seniors to leave their mark on the school while also being a great way for the PTO/PTA to raise a little extra money before the actual decal fundraiser opens to the rest of the community. Either option would be great for the fundraiser.

Step Three: Send the Decals Out to be Made and Consider Pricing
This step is pretty straight forward: find a shop that can make the decals and send them the pictures of what you want. Make sure when pricing the decals for the actual event, you shoot for a minimum of 50% profit per decal sold but a price tag of $5-$8 each should suffice depending on how much the club pays for the decals to be made.

Step Four: Advertise the Decal(s) Chosen and Let the Community Know About the Event
Make posters and signs letting the community members know where they need to be and when to support the school and get their (possibly) limited edition decals! Don’t forget to post pictures of the decal options on the signs so the community knows what they’ll have to choose from.
Also, try to plan the event right before or after school to make it easy for your patrons to come to support the fundraiser. At those times, your patrons and their vehicles are already there and if the line to purchase decals is moving swiftly, it shouldnt be a big deal to grab them on the way back home. If this isn’t doable for the schedule during the week, pick a weekend for this event and have people come through over the course of a day to grab their decals.
Step Five: Consider Decal Fundraiser Type
There are a few ways to get the decals to your community.
Option 1
Hold a regular sale where the people that wish to buy decals purchase them directly from the office or the teachers and then take them home and apply the decals themselves.

Option 2
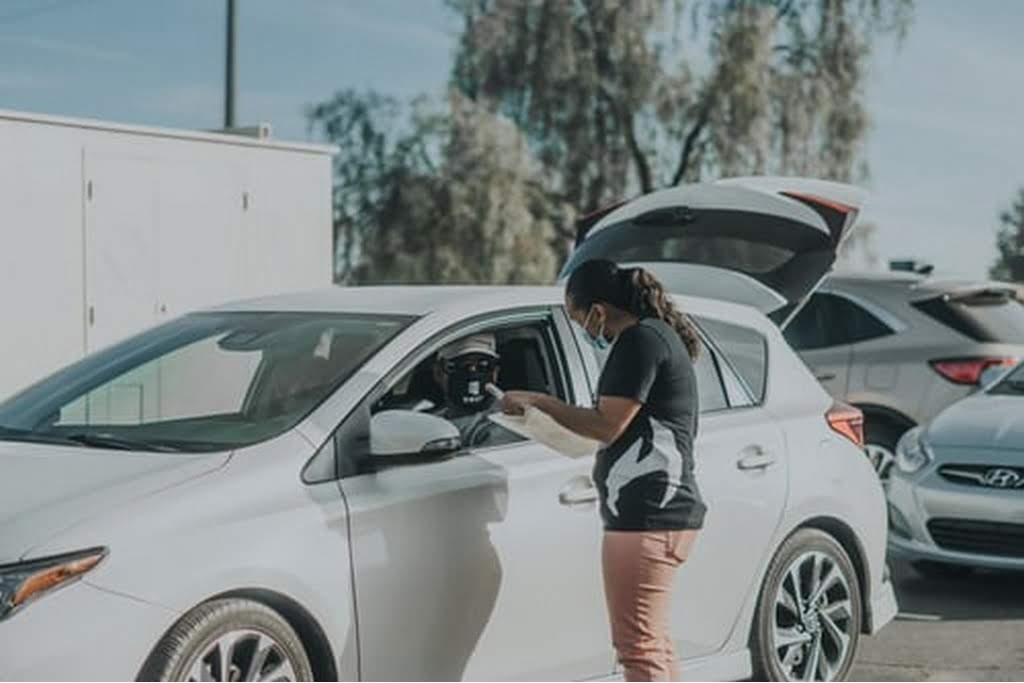
Hold a drive through fundraiser where the cars pull through a few stops. The decal is purchased, the spot to apply the decal is chosen and cleaned, and the deal applied all without the patron having to get out of their car. The assembly line option might look something like this:
Stop 1
The patron stops at the 1st designated area and picks which decal design they want (if the PTO/PTA decides to offer multiple options for the design) and pays. Make sure to have a tip jar visible just in case any of the patrons are feeling particularly generous towards the cause. Let them know that they can also purchase a few extra decals if they are comfortable taking them home to put on themselves. After all that is done, the patron pulls forward.
Stop 2
The patron stops at the 2nd designated area and picks a spot on their back windshield where they want the decal to be placed. The volunteers working stop 2 will spray the spot with alcohol and clean the spot with a paper towel. The patron pulls forward to Stop 3.
Stop 3
The patron stops at the designated area and the decal is placed on the patron’s car and the patron drives away!
Keep in mind that if you decide to go with option two for the actual fundraising event, you’ll need to recruit a few volunteers to help with the whole process. If you opt for the weekend application process, have your volunteers sign up in shifts so no one group is out in the sun for too long of a time.
Other than that, thats it! Make sure to thank your patrons and have fun with it!
